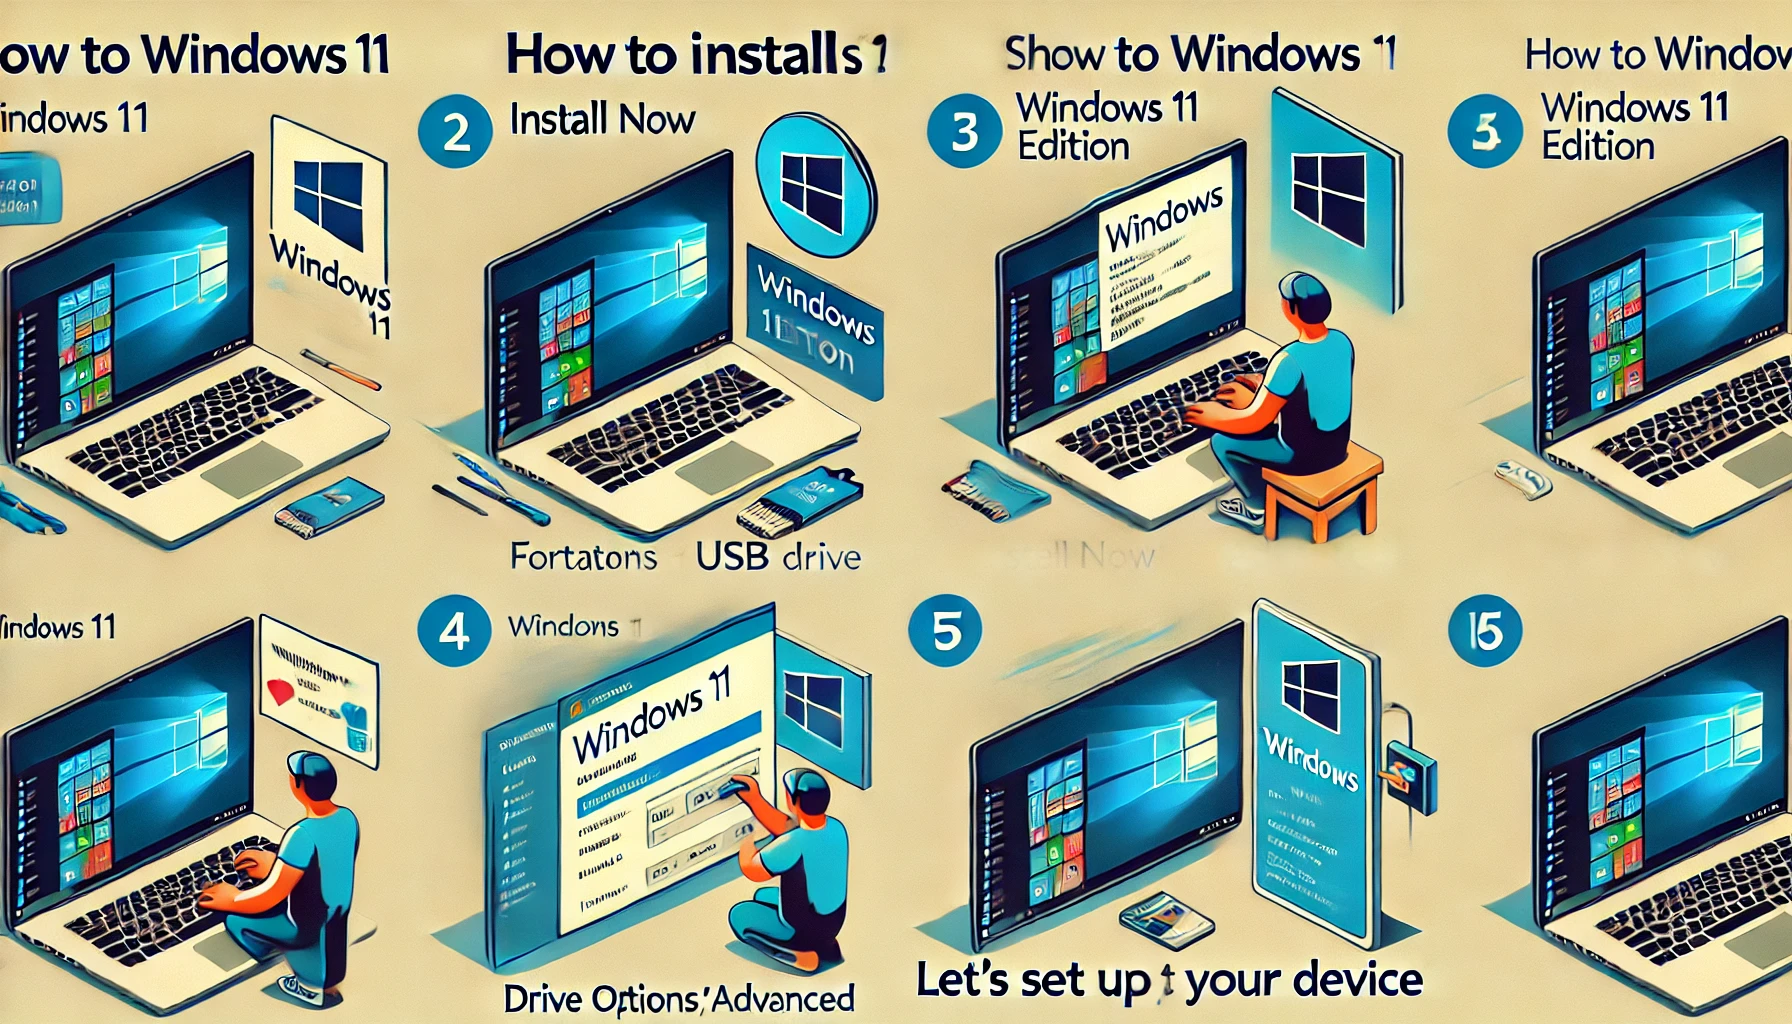
How to Install Windows 11

To install Windows 11, follow these steps. Use the provided visual guide for reference:
Step 1: Prepare Installation Media
- Download the Windows 11 ISO file from the official Microsoft website.
- Use a tool like Rufus to create a bootable USB drive.
- Insert a USB (minimum 8GB).
- Select the ISO file and follow the prompts to make the USB bootable.
Step 2: Boot from USB
- Insert the USB drive into your PC and restart.
- Access the boot menu (commonly by pressing
F12,ESC, orDELduring startup). - Select the USB drive to boot into the Windows 11 installer.
Step 3: Begin Installation
- On the Windows Setup screen, select your language, time format, and keyboard input. Click Next.
- Click Install Now and enter the Windows 11 product key (or choose “I don’t have a product key” to activate later).
Step 4: Select Windows 11 Version
- Choose the version of Windows 11 that matches your license (e.g., Home, Pro).
- Accept the license agreement and proceed.
Step 5: Partition and Install
- On the Where do you want to install Windows? screen:
- Select the partition where Windows 11 will be installed.
- Use Drive Options (Advanced) to format the partition if necessary.
- Click Next to start the installation.
Step 6: Wait for Installation
The system will install Windows 11. Your PC will restart several times during this process.
Step 7: Initial Setup
- After installation, complete the setup process:
- Choose region and keyboard layout.
- Connect to Wi-Fi.
- Sign in with a Microsoft account or create a local account.
- Configure privacy and other settings.
Step 8: Enjoy Windows 11
Once setup is complete, your system will boot into the Windows 11 desktop, ready for use.
Let me know if you need help with specific configurations!